How to Use a Grow Light for Indoor Plants: No-Nonsense Guide
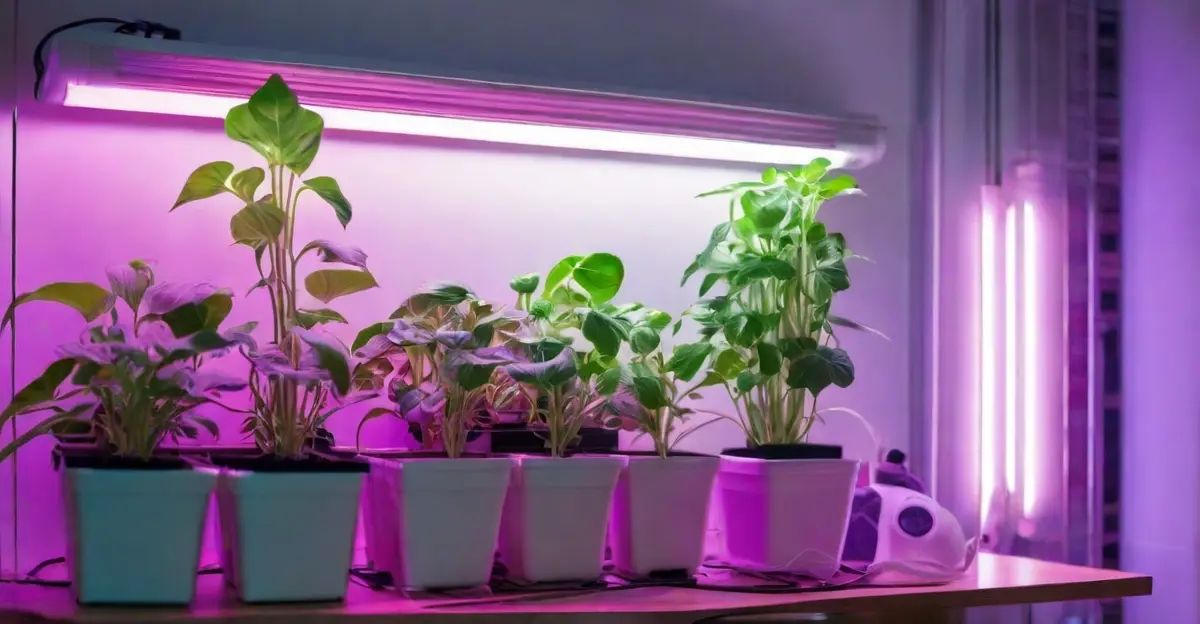
We’ve all been there—excitedly picking up a new flowering houseplant from the garden center—only to watch our indoor plants slowly stretch toward the light from the windows.
And then it turns yellow and drops leaves without sufficient sunlight.
The thrill of raising a vibrant indoor garden quickly fizzles out.
But lack of natural light doesn’t have to be the death knell for aspiring urban plant parents like yourself!
Supplemental grow lights provide the quality full-spectrum illumination that indoor plants need to:
By mimicking the sun’s wavelengths, grow lights allow you to cultivate indoor harvests of herbs, lettuces, flowers, and more while brightening up living spaces year-round.
By the end of this guide, you’ll know how to transform even the dimmest corner of your home into a lush botanical oasis!
Alright, let’s get started right away.
TL;DR Summary
Types of Grow Lights
There are several types of grow lights available for indoor gardening, each with its own set of advantages and ideal uses:
Incandescent Grow Light
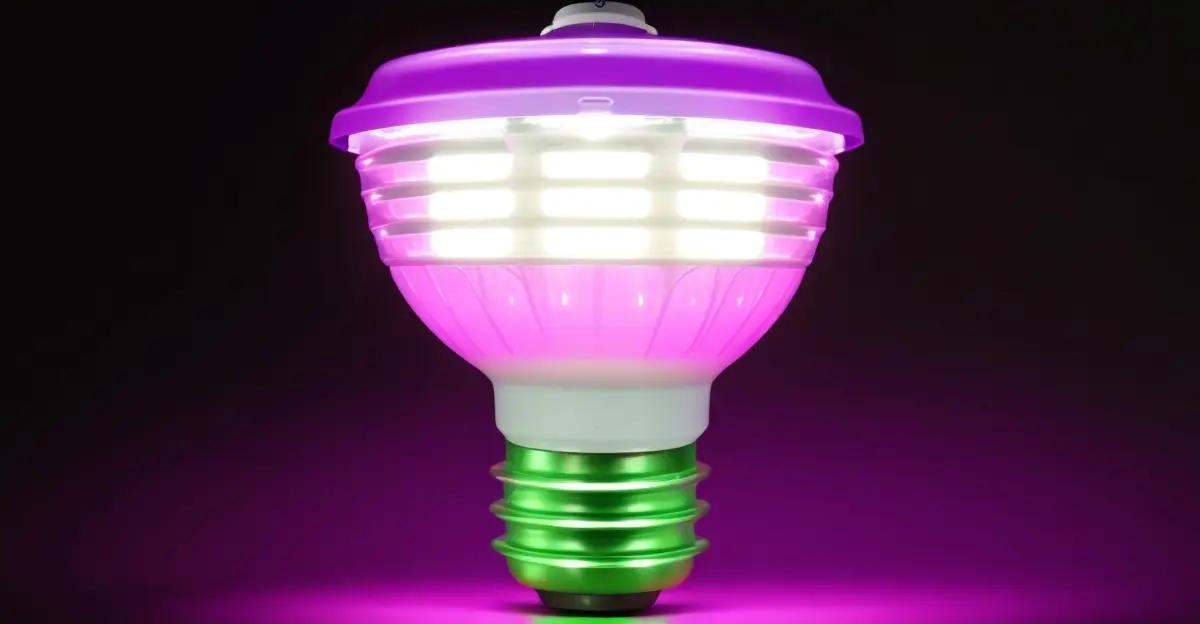
Incandescent grow lights utilize standard light bulbs like A19, BR30, and PAR38 to emit mostly red and orange hues well-suited for flowering plants.
As the least expensive option, these legacy bulbs can supplement other light sources to stretch your budget.
They are readily available and familiar to use with adjustable fixtures.
However, incandescent bulbs, as per GE Lighting, are notoriously energy inefficient — only 2% of energy from incandescent is usable light, while 98% is wasted heat.
This can quickly scorch delicate plant tissue if not properly positioned at least 18-24 inches from foliage.
The high temperatures also demand proper ventilation to prevent hazardous heat buildup when enclosed.
While inexpensive up front, replacement costs add up since bulb lifespans average just 1,000-2,000 hours of use.
NOTE: LEDs, in comparison, last 50,000+ hours.
The lack of blue wavelengths in their spectral output means less compact, leafy growth too.
Pros
Cons
Best Use
Fluorescent Grow Light
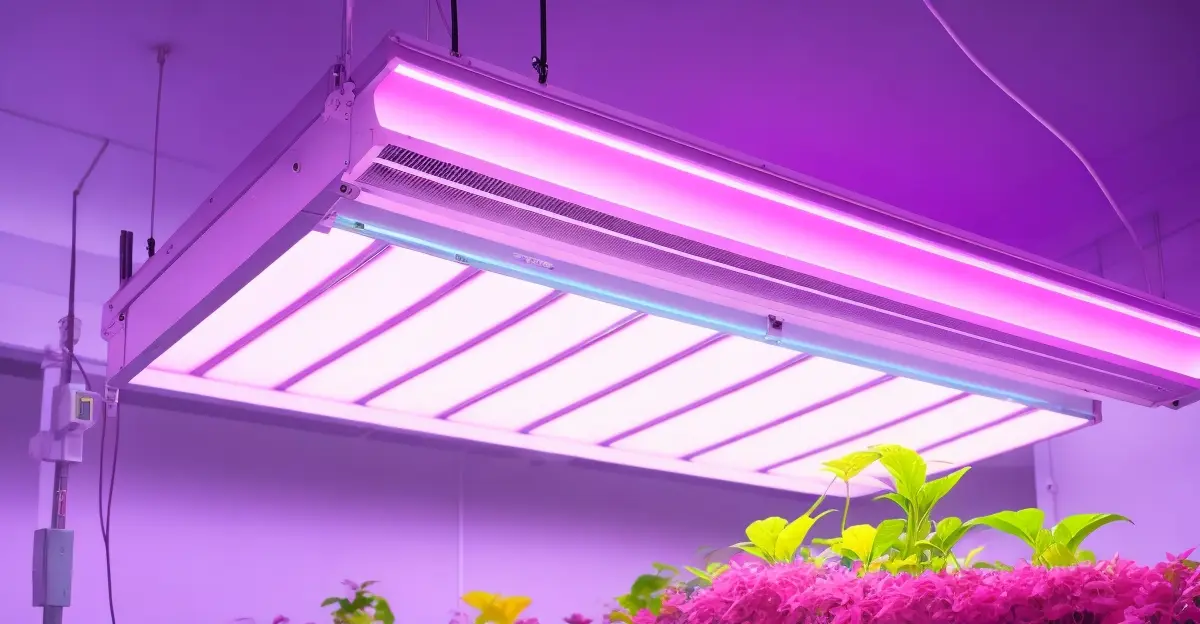
Fluorescent grow lights are a popular choice for starting and sustaining an indoor garden.
Many gardeners opt for efficient fluorescent fixtures because they are an affordable way to deliver garden-friendly light without creating intense heat.
Standard options include spiral CFL bulbs or long T5 and T8 straight tubes ranging from 2 to 8 feet. T5 and T8 refer to the diameter size of the glass tubing (source).
Look for “full spectrum” or “daylight” varieties with a color temperature between 5,600K to 6,500K to maximize leafy growth.
Amy from Get Busy Gardening suggests positioning fluorescent lights 6 to 12 inches above seedlings and young plants to provide sufficient intensity for photosynthesis without the risk of overheating, especially for delicate sprouts.
While fluorescent can’t match the penetrating power of pricier commercial HID or LED setups, they offer plenty of radiance for home herb and microgreen gardens.
SIDENOTE: More powerful fluorescent-like T5 HO systems can support a wider variety of plants.
For leafy greens like lettuce and bok choy as well as herbs such as basil, cilantro, parsley, and chives, fluorescent lighting provides excellent support through all growth phases, from germination to harvest.
Fluorescents, however, can’t provide enough sheer intensity for the long haul to satisfy fruiting veggies like tomatoes or light-hungry flowers accustomed to basking outdoors.
Save these plants for HID and LED supplemental setups.
Rather than a huge front-end cost, fluorescent systems require small ongoing investments in replacement tubes.
SIDENOTE: According to various listings on HomeDepot and Lowes, they typically last 6,000 to 20,000 hours before needing replacement, which equals 2–5 years with average use.
Replacement fluorescent tubes can be purchased inexpensively online or at hardware/home improvement stores for as little as $2.98 per tube.
Pros
Cons
Best Use
LED Grow Light

LED grow lights utilize light-emitting diodes to deliver customizable, energy-efficient illumination for indoor plants.
They’re 50-60% more efficient than fluorescent lighting in converting electricity into photosynthetically active radiation (PAR).
They convert 25-35% of input energy into PAR light that plants can use, compared to 10-15% for fluorescent (source).
Their tunable spectrums allow targeting growth phases, with blue light for leafy plants and red for flowering species.
The best part?
LED grow lights allow up to 50% less electricity use than older technologies like high-intensity discharge (HID) fixtures.
This adds up to lower operating expenses over time.
Additionally, LEDs run cooler than HID options, allowing closer positioning to the plant canopy for maximum light interception.
There are a few LED types worth considering:
When scouting for LED grow lights, prioritize full spectrum or adjustable white light varieties from reputable brands that offer at least a 3-year warranty on their fixtures for peace of mind.
Models from Spider Farmer, Mars Hydro, and Viparspectra strike an excellent balance of quality, intensity, and affordability. Mars Hydro has one of the best warranties at 5 years.
SIDENOTE: Full-spectrum LED grow lights that provide customizable intensity and color are a good general-purpose option suitable for most indoor gardens.
FURTHER READING: What Color Light Is Best for Plant Growth (2024 Guide)
Pros
Cons
Best Use
High-intensity Discharge (HID) Grow Light
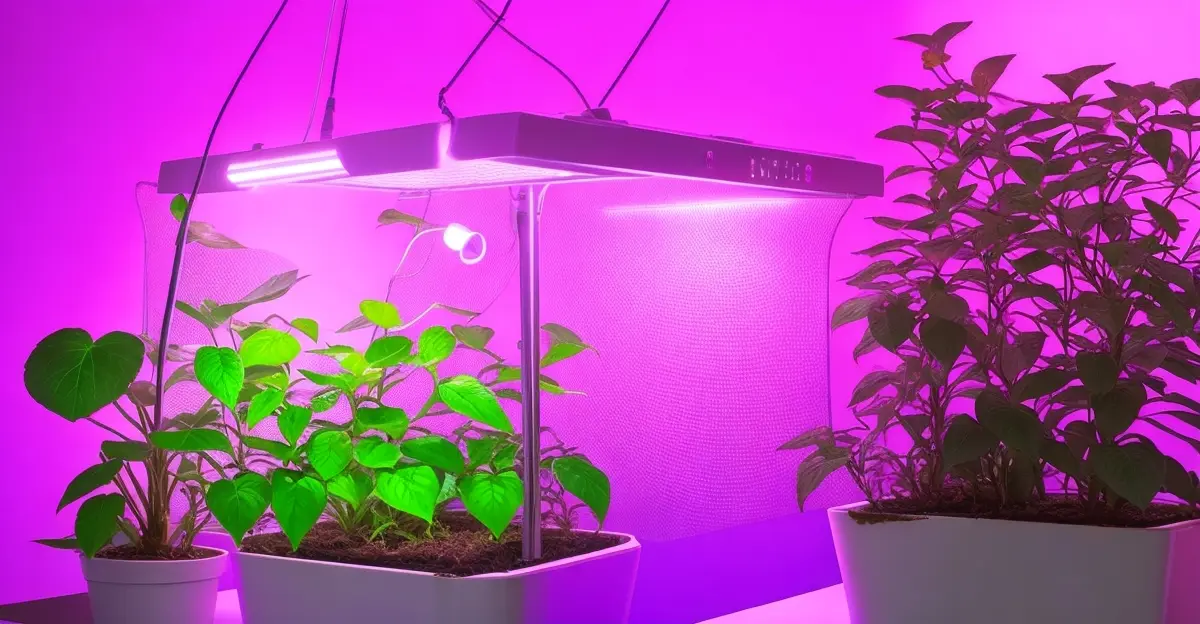
HID lights are a category of high-powered electric lamps often used in indoor gardening and greenhouses needing intensely bright supplemental lighting.
The most common HID light bulbs used for plant growth include:
HID lights are valued in indoor gardening for their unparalleled brightness and light penetration, reaching entire plant canopies.
However, they need proper cooling and ventilation systems since, according to this eBook, around 55% of the energy consumed by HID lights is emitted as infrared/radiant heat.
Pros
Cons
Best Use
Grow Light Benefits
Using full-spectrum LED grow lights provides many advantages for raising vibrant indoor gardens despite limited access to natural sunlight.
Here are the major ones:
Promotes Healthy Plant Growth
Research shows that using LED grow lights, especially with optimized red and blue wavelength combinations, can significantly improve metrics like:
For instance, one study found that increasing the light intensity of a broad spectrum LED light from 100 to 600 μmol/m2/s resulted in an 80% increase in shoot fresh weight for basil after 2 weeks.
Grow lights allow maintaining ideal daily light integral (DLI) between 12-17 mol/m2/day and photoperiods of 14-16 hours for robust plant development even when natural light is scarce indoors or during winter.
SIDENOTE: the ideal DLI and photoperiod varies by plant species and growth stage.
Triggers Timely Flowering
The red spectral output from LED grow lights promotes flowering (source).
Prevents Leggy Growth
Without adequate overhead lighting, plants exhibit leggy, weak growth as stems unnecessarily lengthen or stretch upward trying to reach a light source.
Positioning full spectrum grow lights close to the plant canopy (within 12 inches) provides sufficient intensity to maximize light interception, resulting in compact, sturdy plants.
Enhances Nutrient Quality
The blue light spectrum from LED grow lights increases the production of antioxidants like anthocyanins, boosts polyphenol content, and raises concentrations of other secondary metabolites.
It is associated with the nutritional quality of fruits, herbs, and leafy greens.
Supports Productivity Year-Round
Outdoor conditions vary and limit natural light exposure at certain times of the year. Grow lights enable consistent plant growth cycles regardless of external factors.
This facilitates uninterrupted harvesting 12 months a year, improving productivity.
To help you better understand the specifics, here are the grow light benefits by plant type:
| Plant Type | Grow Light Benefits |
| Herbs (Parsley, Basil, Oregano) | Promotes bushy, compact growth; increases flavor and aroma. |
| Lettuces and Microgreens | Encourages faster, healthier growth; enhances nutritional content. |
| Flowering Plants (Orchids, African Violets) | Stimulates blooming; produces more flowers. |
| Cacti and Succulents | Provides light intensity they need; supports growth and coloring. |
| Trees (Ficus, Palm) | Compensates for lack of natural light; prevents leggy growth. |
| Vegetables (Tomatoes, Peppers) | Increases yield and ripening; boosts flavor. |
How Do Grow Lights Work
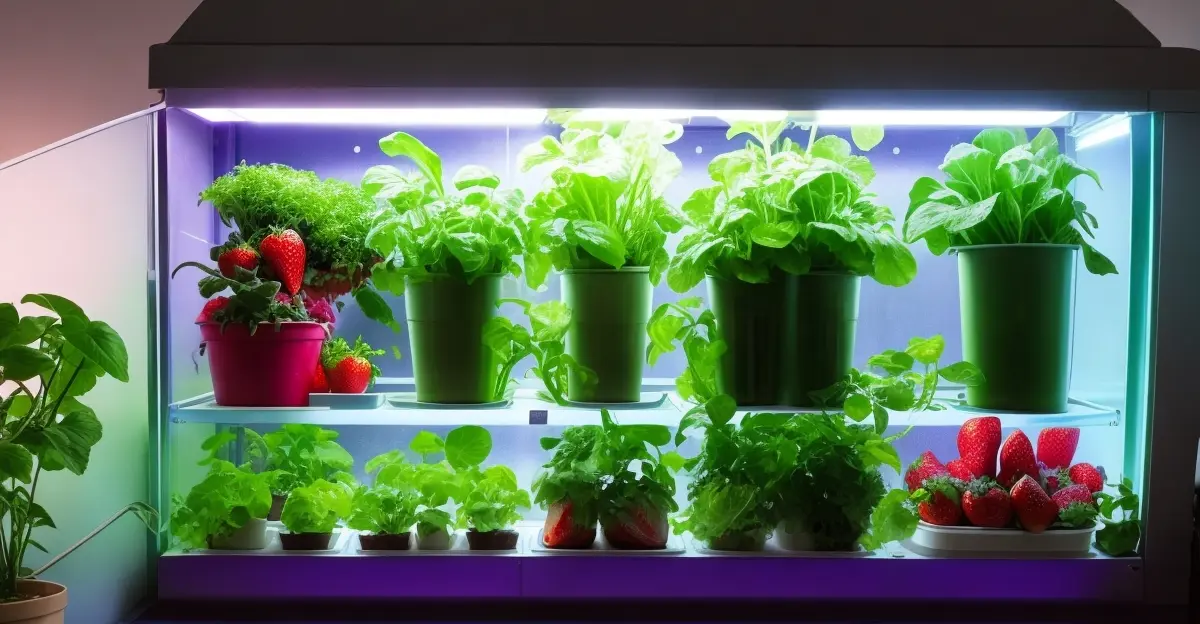
Grow lights are electric lights engineered to provide plants with the specific wavelengths and intensity of light they need to photosynthesize and flourish as if outdoors.
Here is a quick overview of the key factors that determine a grow light’s effectiveness:
Light Spectrum
Plants absorb light primarily within the blue (400-500nm) and red (600-700nm) wavebands for use in photosynthesis and photomorphogenic responses according to this research paper.
Grow lights are tailored to emit peaks of radiance at these bandwidths. Some also provide supplemental orange and infrared light.
Light Intensity
Light intensity refers to the photons emitted per unit time and area, measured using metrics like PPF (photosynthetic photon flux).
Plants need sufficient intensity, customized to that species, for optimal function.
Uniform Coverage
To prevent uneven growth or shaded spots, grow lights should distribute intense light relatively uniformly across the entire plant canopy surface needing illumination.
Reflectors and lenses, along with proper positioning, maximize coverage.
Adjustability
Higher-end grow lights allow customizing the light spectrum balance, intensity, positioning height/angle, and on/off durations through software and automated systems.
Choosing Your Grow Light
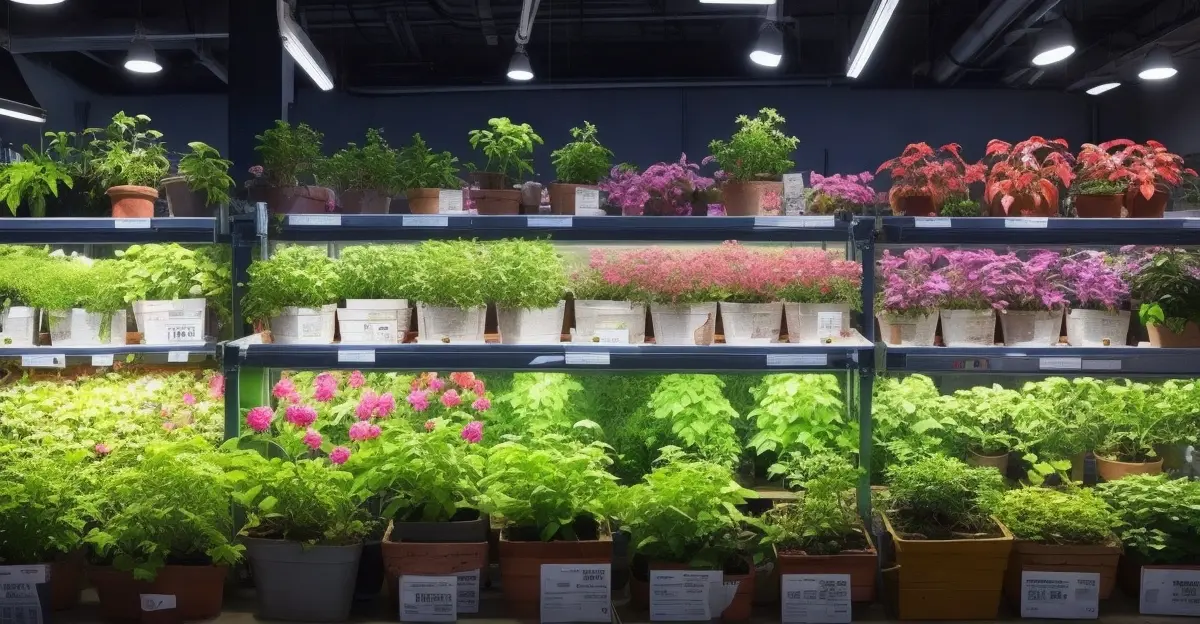
When evaluating grow lights, tailor your selection to the unique needs of your indoor garden.
Here are the key factors to consider:
1. Match Light Type to Plant Types
The right type of grow light depends on which plants you intend to cultivate indoors. Refer to the previous section comparing lighting technologies to determine what might work best.
For instance, basic fluorescent fixtures or LED panels provide suitable support for starts, herbs, leafy greens, and houseplants needing only moderate intensity.
Fruiting species accustomed to basking in the summer sun all day likely demand more powerful LED bars/COBs or perhaps sole-source HID lighting to thrive.
2. Check Light Intensity
Research recommends maintaining consistent light integral (DLI) between 12-20 mol/m2/day for most plants through the vegetative stage, tapering off during reproductive phases.
Measure your light’s intensity in PPFD using a quantum meter. Compare against your plants’ DLI needs to size fixtures appropriately.
As a general rule, aim for:
Light-loving herbs, veggies, and tropical require sufficient intensity to avoid leggy growth from insufficient photons.
Supplement natural light as needed per season.
3. Lower Output for Low to Medium Light Houseplants
When growing low to medium-light houseplants like ferns, philodendrons, Chinese evergreens, nerve plants, and pothos, use lower-intensity grow lights or position further away to avoid leaf burn.
These species only require supplemental lighting, not intense light.
Overlighting does more harm than good.
4. Consider the Light Spectrum for the Growth Stage
Customize LED color ratios to the developmental needs of plants.
For instance, use more blue wavelengths early on to encourage compact, bushy vegetative states.
As plants mature, slowly transition toward heavier red spectrums to prepare for and maximize flowering/fruit yields.
Using Your Grow Lights
1. Strategic Placement/Angles for Full Coverage
When setting up grow lights for your indoor garden, prioritize strategic positioning and angles to ensure full, uniform light coverage across every plant without shaded spots.
Aim to provide even illumination over the entire plant canopy. Reflective backdrops like foil or white paint help redirect stray photons back onto foliage.
Maintain a distance of 18-24 inches or up to 48 inches for very young seedlings.
Get lights closer to plants, from 12-18 inches during the peak vegetative phase when rapid leafy expansion occurs.
Then increase height back to 16-36 inches when plants transition to reproductive flowering states to avoid intensity from becoming too high.
PRO TIP: Use adjustable hanging systems to easily adjust heights for each growth stage.
For comprehensive 360-degree exposure, angle lights so that it hits plants from multiple directions.
Position one key fixture at an inward 45-degree angle above plants to bathe the main canopy.
Finally, fill lights behind and from the sides to fill any gaps.
2. Photoperiod: Hours On/Off Tailored to Plant
You must tailor grow light on/off durations to a plant’s innate photoperiod and seasonal light needs for balancing growth and dormancy cycles.
Here’s a table for further assistance:
| Plant Type | Light Needs | Hours On* |
| Seedlings | High | 14-16 |
| Vegetables (leafy greens) | Low-Medium | 10-12 |
| Fruiting plants (tomatoes, peppers) | High | 12-16 |
| Herbs | Varying | 12-16 |
| Cacti & succulents | Varying | 10-14 |
| Flowering houseplants | Medium-high | 12-14 |
| Low-light houseplants | Low | 8-16 |
*The above numbers are near estimates and may vary from one plant to another.
All plants need some period of darkness for respiration and rest. The hours off should be the remaining hours up to 24.
Even minimal light pollution at night can confuse plants and cause physiological stress.
Use a timer to ensure consistency with the lighting schedule.
3. Gradually Increase Height as Plants Mature
As indoor plants grow taller and wider over successive growth phases, you need to incrementally raise the hanging height of grow lights to avoid the intensity becoming too strong.
While sprouts and seedlings prefer lights close by at 2-4 inches or 24-36 cm, gradually boost this distance to 12-24 inches through the extended vegetative stage.
Finally, the consensus of evidence indicates lights should be lowered closer to 12-24 inches above the canopy during flowering for the highest intensity and yield.
You can reference light intensity guides and monitor illumination at the top canopy using a PAR meter.
4. Switch Bulb Spectrum for Growth Cycles
Using adjustable LED systems, slowly dial down cool blue light intensity while increasing warmer red accordingly over a 2-4 week period.
You can also purchase separate warm white and cool white grow light bulbs, swapping them out instead to align the spectrum with growth cycles.
Just remember — stick with blue-centric setups for leafy herbs and lettuce. Prioritize red light for flowering orchids, tomatoes, and peppers later on.
5. Supplement Sunlight, Don’t Replace Completely
For indoor gardens still receiving at least a few hours of direct daily sun exposure, leverage grow lights to supplement gaps in natural light rather than completely replacing them.
Indoor plants still benefit from access to natural sunlight through adjacent windows — even just a couple of hours daily.
Supplemental grow lights help compensate for dim winter months or low-light afternoons.
By leveraging both natural and artificial light sources in harmony, you help ensure plants receive adequate — but not excessive — light.
Grow Light Setup Considerations
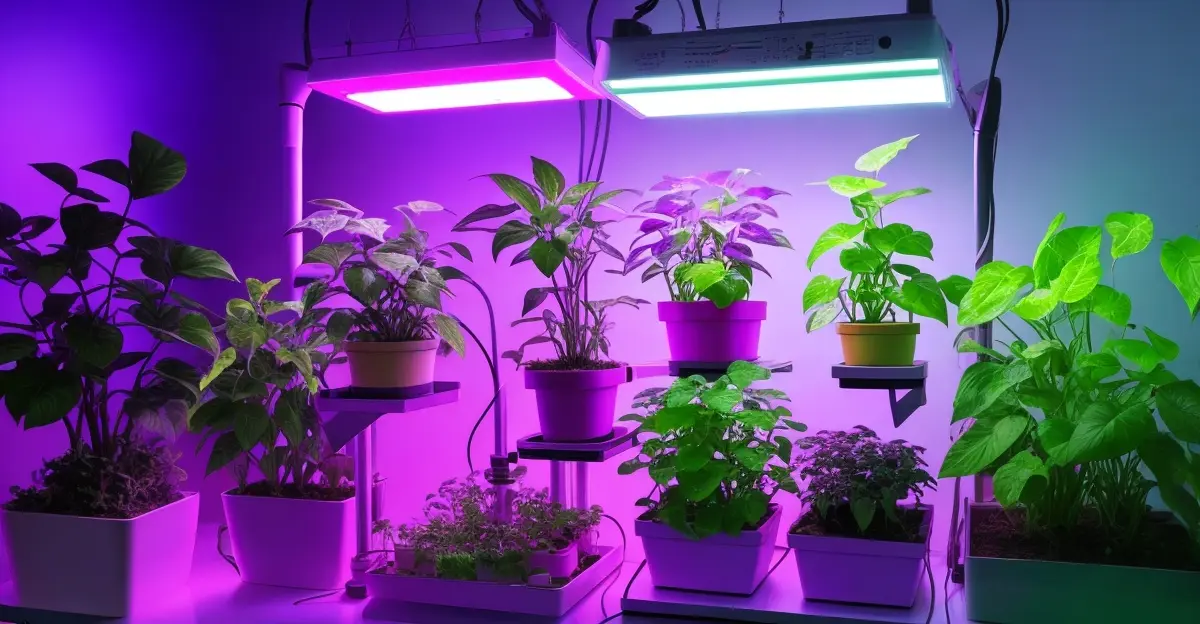
When cultivating indoor plants with grow lights, proper setup is key to recreating ideal solar conditions.
1. Equipment: Bulbs, Fixtures & Timers
Your equipment forms the foundation of the supplemental lighting system. So choose components strategically based on plant needs:
Select Full Spectrum LED Grow Lights
Go with adjustable full-spectrum LED lights to cover all wavelengths (from 380nm to 780nm) for photosynthesis without excessive heat.
Prioritize fixtures from top brands like Spider Farmer, Mars Hydro, and Viparspectra for quality assurance.
Their wide spectrum LED bars and quantum boards work beautifully for home gardens!
Install Height Adjustable Hanging Sets
Ratchet hangers, retractable cords, and telescoping poles empower easily raising/lowering lights to the optimal height as plants mature from seedling to full maturity.
No more guessing!
Leverage Programmable Timers
Digital timers or WiFi-enabled controllers automate proper lighting schedules for plant growth phases.
For example, set mature flowering orchids to 12 hours on/12 hours off to encourage abundant blooms!
2. Positioning Factors
Strategically place grow lights at the best height, angle, and location for full coverage across all plant foliage for even growth.
Angle Lights for 360 Exposure
Pointing lights inward from multiple angles eliminates shaded spots. Position a key fixture overhead at a 45-degree angle facing down on plants.
Fill smaller lights in behind and on the sides to complete light coverage.
Start Lights 2-4 Inches Above Sprouts
Keep T5 fluorescent or gentle LED panels very close, just 2-4 inches above seedlings and cuttings to deliver sufficient intensity for growth without risk of leaf burn.
Then go up to 12-18 inches for young plants as they establish.
Use Reflective Backdrops
Line the back walls and surfaces around your indoor garden with reflective foils or white paint finishes.
This maximizes light utilization for plant growth.
3. Proper Maintenance
Stay on top of system maintenance for peak performance year after year:
Gently Clean Lights Every 4-6 Weeks
Dust buildup on LED chips, lenses, and reflectors reduces output.
Keep lights in tip-top shape by wiping them down with microfiber cloths lightly dampened with dilute isopropyl alcohol.
Inspect Wires and Outlets
Ensure electrical safety!
ehow suggests checking cords for frays annually, using surge protectors, avoiding overloading circuits, and considering connecting fixtures to GFCI outlets.
Prevention is key for urban gardeners.
4. Tailor Setups by Plant
Finally, catering equipment, positioning, and maintenance to specific plant species and growth phases.
Seedlings Need Weak LEDs Close By
Use weaker 40W LED grow bulbs 20-27 inches above tender new sprouts for 14-16 hour daily photoperiods that encourage healthy seedling growth without the risk of scorching.
Fruiting Plants Love Intense Light
Blast mature indeterminate tomato or pepper plants with powerful 150W LED quantum boards.
Position 18-36+ inches above the foliage for that summer-strength brightness the 14+ hours daily they need for abundant harvests.
Lower Light for Shade Plants
Peace lilies and pothos, for instance, thrive on indirect light.
Place low 60W LED panels further away and run for just 10-12 hours daily.
It perfectly mimics their tropical understory habitat!
Conclusion
Rather than allowing limited natural light to continually disappoint and dampen your urban growing dreams inside cramped apartments or townhouses…
Take this guide as your nudge to finally create the prosperous indoor garden of your dreams!
Gone will be those dreary days struggling to keep plants alive on a prayer.
Because with the perfect spectrum and intensity of electric light facilitating photosynthesis from all angles, even the most light-thirsty species can flourish as if outdoors!
Meet your guide
Dhruvir Zala