How Far Should a Grow Light Be From Plants for Best Growth

Dialing in the perfect positioning for your unique setup is a must for optimal yields and plant health.
This guide covers key considerations in determining the ideal distances and angles for hanging grow lights over your indoor garden.
Whether you’re using LED panels, HPS fixtures, or fluorescent bulbs over your herbs, houseplants, or hydro greens, this grow light positioning guide is for you.
TL;DR Summary
Light Measurements and Terminology
Properly positioning your grow light relies on understanding key metrics that characterize light quantity and quality.
Let’s define the major terminology around measuring light for plant growth:
Photosynthetically Active Radiation (PAR) – The range of light wavelengths (400-700 nm) plants use for photosynthesis. Higher PAR = faster photosynthesis and growth.
IMPORTANT: Above a saturation point, further increases in PAR do not increase photosynthesis or growth. And excessively high PAR can damage plants.
Daily Light Integral (DLI) – The total number of PAR photons (moles) received on a given area over 24 hours, or mol/m2/day.
NOTE: DLI varies by plant type and growth phase – for example, lettuce thrives under 15-20 mol/m2/day during leafy growth.
Color Temperature – Describes light color appearance (warm/yellow or cool/blue) in temperature units (Kelvin). Blue light encourages compact, vegetative growth, while red light promotes flowering/fruiting.
Color Rendering Index (CRI) – Rates a light’s ability to reveal true colors from 0-100. 90+ is excellent for assessing plant health and ripeness.
Distances by Light Type & Growth Stages

When determining how far to position your grow lights, the type of lighting technology used is a key factor.
LED and HID fixtures have different recommended height ranges based on heat output and intensity. While fluorescent and even incandescent have their own guidelines to follow.
Here is an overview of positioning best practices tailored to various indoor garden light sources:
LED Grow Lights
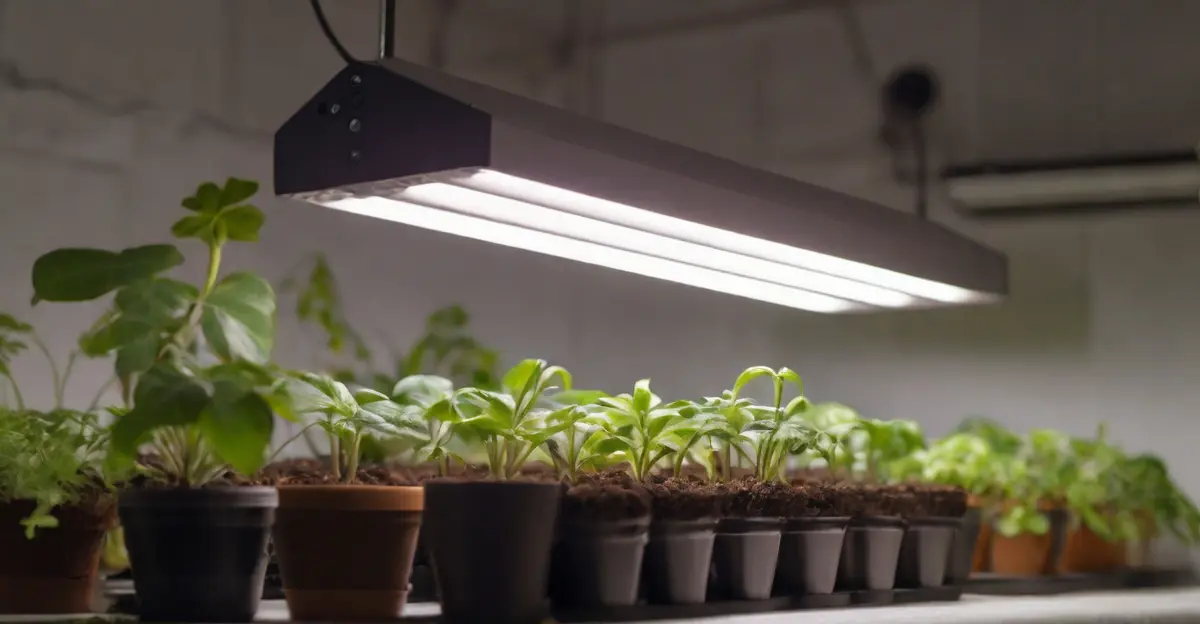
During the vegetative phase, most full-spectrum white or blue LED fixtures should hang 24 to 32 inches (60-80 cm) above the plant canopy.
While red/blue grow light LEDs should be 18 to 24 inches away.
One study found lettuce plants grown under red-blue LED lights had 16.3% greater height when lights were positioned at the recommended height compared to closer distances.
These closer distances for LED lights are possible because the technology runs cooler than alternatives like HPS setups.
HID Grow Lights
While high-intensity discharge (HID) lights like metal halides (MH) and high-pressure sodium (HPS) put out intense light levels.
They also output significant heat that can damage tender young plants if not positioned correctly.
For vegging plants, most MH and HPS fixtures should hang around 24 to 36 inches above the canopy. Lowering down to 18 to 24 inches once flowering initiation begins (source).
Much depends on the specific wattage and type of reflector used. But when in doubt, always err on the side of more distance with HIDs to prevent unintended roasting!
Fluorescent Grow Lights
Fluorescent tubes and compact fluorescents (CFLs) have a much less intense light output per watt compared to LED or HPS fixtures.
So T5 and T8 tubes can hang just 2 to 4 inches above seedlings without issue. Increasing to 4 to 8 inches for vegetative growth. And 6 to 12 inches for flowering plants (source).
Meanwhile, standard spiral CFL bulbs should be kept 3 to 6 inches from leaves at all stages of growth.
The compact shape of CFLs concentrates light more directionally than tubes. Allowing them to be positioned closer. But with quickly diminishing returns.
Just monitor plants for signs of leaf burn, chlorosis, or other stress responses. And increase distance or duration gradually if issues arise.
FURTHER READING: What Is a T5 Grow Light and Should You Use It in 2024
Incandescent Grow Lights
While cheap and readily available, Incandescent bulbs are rather inefficient for supplementing growth.
They produce only 10% of their energy consumption as photosynthetically useful light. The rest is radiated as heat.
They also lack key blue and red spectra. Making LED and fluorescent options far superior.
Thus, incandescent bulbs should be used cautiously for indoor gardening.
NOTE: Incandescent lights produce more heat than LEDs, which may require them to be further away to avoid plant damage.
Signs of Issues

Dialing in the perfect distance takes some trial and error. However, being able to recognize symptoms from suboptimal positioning is key.
Here are the most common indicators to watch for with lights set too close or too distant from your indoor crops:
Light Burn Symptoms
Having grow lights too near can lead to excess intensity, encouraging light burn. Classic signs include:
Fixing light burn involves gradually increasing fixture height until new growth appears normal.
Insufficient Light Symptoms
Alternatively, lights set too far cause the opposite issue — plants starved for photons. Noticeable by:
Address this by lowering fixtures or adding supplemental lighting to nourish demanding crops like fruiting vegetables properly.
Measuring and Adjusting Light Intensity
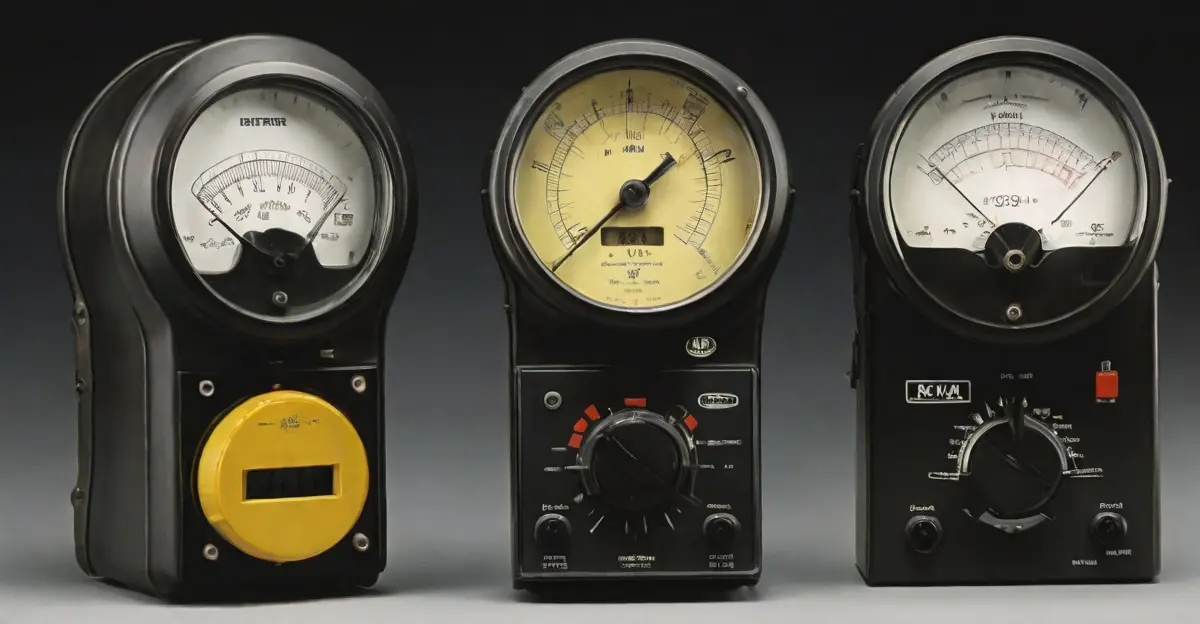
Meters designed for quantifying light levels useful to plants take the guesswork out of positioning.
We’ll cover using both PAR and Lux meters to inform adjustments.
Using PAR Meters

Photosynthetically Active Radiation (PAR) meters are specially designed to measure light within the 400-700nm wavelength range plants rely on for photosynthesis and photomorphogenesis regulating growth patterns.
To take accurate readings, position the PAR meter at the topmost canopy level of the plants to quantify the intensity actually being received by tissues driving growth and fruiting.
Comparing readings at differing heights lets you map out the light gradient produced by a given fixture, which informs ideal positioning (source).
For relatively high-light crops like leafy greens and herbs, target at least 200 μmol/m2/s or more during vegetative and flowering phases, while light-stress tolerant flowering plants may thrive at up to 1000 μmol/m2/s.
Adjust fixture height until intensities in this range are achieved just above the uppermost leaves and stems.
Converting PAR to Daily Light Integral
Daily Light Integral (DLI) provides a snapshot of how much total PAR is delivered to plants over 24 hours as light intensity x photoperiod hours.
Thus, the placement and output setting of fixtures impact both instantaneous PAR and DLI doses.
DLI meters like those offered by Apogee Instruments, as well as apps like Photone, automatically calculate DLI by measuring PPFD and photoperiod. This eliminates the need for manual calculations.
They also log data over time to track growth conditions.
Target DLI varies significantly by species and growth phase—for example, leaf lettuce thrives under 15-22 mol/m2/day during vegetative growth, while chard requires up to 20 mol/m2/day for best flowering (source).
Using Lux Meters
Lux meters affordably measure light brightness that our eyes perceive from fixtures, making them widely accessible tools.
Lux readings demonstrate how raising and lowering lights impacts relative intensity across a given garden footprint, facilitating rough positioning evaluations.
Place sensors at the leaf canopy level when benchmarking.
Once intensity drop-off is mapped with height, convert Lux values to PAR using formulas specific to your fixture make and model if available to determine equivalence.
70 Lux ≈ 1 μmol/m2/s (PPFD) is reasonably accurate for full spectrum white LED fixtures as an estimate.
By measuring light levels using PAR or Lux meters and making informed height adjustments, you can optimize DLI, prevent light burn and legginess, and take the guesswork out of positioning.
Investing in automated lift systems makes maintaining ideal heights over a crop’s lifecycle even easier.
The Role of Reflectivity
When installing grow lights over an indoor garden, most people focus their attention directly overhead—maximizing intensity coming straight down onto plants.
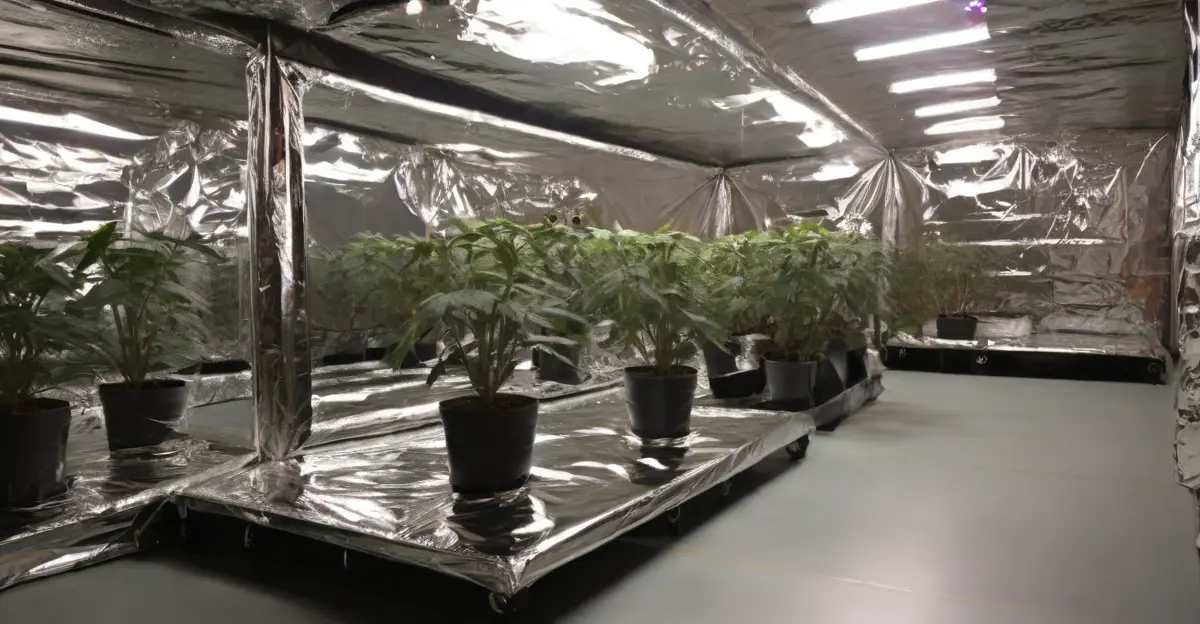
Yet just as critical is considering the surrounding environment — specifically, how reflective the walls, floors, and surfaces enclosing your crops are.
Why Reflectivity Matters
Reflectivity refers to what percentage of light shone on a material bounces back vs. gets absorbed.
For example, a perfectly reflective mirror reflects 100% of incoming light. While dark foam absorbs over 99%, reflecting almost none.
Surfaces and structures surrounding any indoor grow setup impact how much usable light plants receive. Because non-reflective backgrounds simply soak up precious photons.
Choosing Reflective Materials

The best grow tent/room surfaces for reflectivity include:
NOTE: Mylar Film wrinkles easily, making it better suited for temporary installations.
KEY TAKEAWAY: Choosing tent and wall materials with 90%+ reflectivity literally doubles usable light versus non-reflective black backgrounds measured at under 5%!
Troubleshooting Common Problems
When issues arise with your indoor garden’s growth and yield, troubleshooting lighting positioning should be step one.
Here are helpful guidelines for optimizing your unique setup.
Determining the Number of Lights
As a starting point, LED grow lights should offer 30-50 watts per square foot of canopy space to drive robust photosynthesis without excess heat.
For example, to cover a 4’x4′ tent (16 square feet), aim for 480 to 800 total watts of LED flowering lamps.
Always cross-reference manufacturers’ recommended coverage areas too.
Increase lights during fruiting/flowering compared to the vegetative stage, where less intense light suffices for leafy growth.
Heat Management
While LEDs produce little heat compared to HID lighting, maintaining ideal temperatures still impacts positioning.
Exhaust fans, circulation fans, and AC help control heat and humidity so fixtures can hang closer to soilless crop canopies.
When adjusting positions, factor in ambient air temperatures too. For example, cool basements allow closer positioning than hot, cramped grow tents.
Conclusion and Key Takeaways
Optimizing how you hang grow lights over indoor plants significantly impacts results.
The takeaway is always optimizing positioning by monitoring plants and meters.
Let their response and metrics lead you to the ideal setup. Keep tailoring as new variables like seasons or upgraded lighting impact the equation.
When balanced properly, grow lights accelerate photosynthesis, ripening, and abundant harvests indoors unlike ever before.
FURTHER READING: How to Use a Grow Light for Indoor Plants: No-Nonsense Guide
Meet your guide
Dhruvir Zala