How to Hang a Grow Light Like a Pro: The Complete 2024 Guide

This complete guide will take you by the hand, shedding light on every key step to plan and install grow lights.
From assessing your space limitations to safely mounting at ideal heights to effortlessly adjusting as your plants grow taller.
Follow this straightforward advice to sidestep beginner pitfalls like uneven lighting, fire risks, or lights positioned too high or low.
Let’s start by determining the perfect spot based on your goals, space, and structural support.
TL;DR Summary
STEP 1: Preparing to Install Your Grow Light System

I know deciding the ideal place to install your grow lights can be a confusing initial step.
But with this handy advice, you’ll be able to pick the perfect spot tailored to your indoor garden goals and layout in no time!
First, analyze the physical footprint.
Carefully measure the length, width, and height of the space you want to illuminate with grow lights.
This area should have sufficient structural integrity to securely mount the lighting equipment you choose.
Pay special attention to potential weight limits on things like ceiling boards.
Got a sprawling basement or garage? Lengthier LED strips can bathe larger square footage in a uniform glow.
For a small closet grow, compact LED panels should suffice.
Next, factor in your green thumb aspirations.
Want lush lettuce or vibrant orchids?
Leafy greens like Lettuce thrive under moderate light intensity (400-600 μmol·m−2·s−1), while fruiting blooms like tomatoes need a more laser-focused blast (at least 22 mol m-2 d-1).
This determines lighting power and coverage.
For example, one 600-watt HPS cast over 6 × 8 feet delivers ample brightness for a diverse veggie patch.
SIDENOTE: I’d also ensure easy access to electrical outlets capable of meeting the system’s needs. Surge protectors and timers enable custom lighting schedules catered to each plant’s growth rhythm!
Step 2: Planning the Hanging Setup
Alright, choosing where to hang your grow lights is pivotal to reaping thriving indoor harvests!
And proper planning prevents poor performance, as the saying goes. So before hastily stringing up lights, let’s discuss structural support.
For chunky HID models, locate sturdy rafters first using a stud finder. These crossbeams may hold 5-10 lbs per square foot, or up to 40 lbs per square foot if combined with floor trusses.
Otherwise, ceiling drywall (capacity: 1.6-2 lbs per square foot) alone likely can’t cut it. Mount durable hooks directly into those wooden joints instead of drywall to sustain the load.
Lightweight LED panels under 10 pounds though? Anchors should suffice if properly installed.
Still, test any questionable areas by hanging from installed hardware personally before entrusting precious lighting gear!
We also can’t forget about power.
Audit nearby outlets on your botanical base of operations. An extension cord stretched to its limits across rooms looks messy and risks hazards.
Plan any necessary wiring routes through attics/basements ahead of time as well.
And don’t neglect wide plots!
Central ceiling suspension prevents darker edges compared to side mounting. Supplement with lower-intensity auxiliary lighting as required to banish shadows.
Voilà!
An expertly devised wiring and hanging blueprint ticking all boxes for safety and plant productivity.
Step 3: Picking the Best Mounting Location
As a rule of thumb, fruiting plants like tomatoes and peppers thrive when positioned directly under intense light.
Leafy greens, however, like spinach and kale, flourish under moderate brightness around half the intensity (200-400 μmol·m−2·s−1) of fruiting plants.
One study specifically found the highest lutein and carotene content in kale leaves at 335 μmol·m−2·s−1.
So place hungrier crops nearest to your centralized ceiling lights to bathe them in a high-wattage glow. Diffuse this spotlight as required with reflectors to avoid leaf burn!
Don’t neglect natural light
Nutrient-dense greens often prefer a bright, indirect bath from sunlight (around 4–6 hours per day) streaming through adjacent windows.
Simply shift more light-sensitive species away from intense glass-filtered rays beaming onto your growing station if signs of stress appear.
Electrical safety
Always securely mount sizable LED panels into anchored ceiling hooks rated for the load rather than risking collapsed drywall.
Prevent messy tangles of haphazard wiring too by neatly running extension cords from nearby outlets along baseboards if necessary.
Plus, properly insulated commercial-grade cabling and junctions reduce the risk of shorts or fires significantly — especially when paired with modern, cooler-operating LED technology.
So investing a few extra dollars here pays dividends down the line!
Long-term risk mitigation
Finally, speaking of risk mitigation, ensure your framework can support the sustained heft long-term.
Just keep an eye on overhead anchors over time, since vibrations from fans or AC units may loosen connections.
And confirm hardware bonds properly when first installed — safety should be the number one priority for your indoor oasis!
Step 4: Installing the Grow Lights Properly

Alright, we’ve covered planning and prep. Now let’s dive into actually mounting those babies to realize your indoor bounty dreams!
Follow this straightforward 6-step installation process to safely and effectively get your grow lights hung.
1. Use Strong Hanging Materials
While basic chains or ropes work, adjustable metal hangers allow easy tailoring of the height. Secure these to ceiling rafters or robust anchors rated for the load. Consider safety cables too!
2. Anchor the Light Housing
Carabiners, brackets, and zip ties all keep costly fixtures from swaying and potential mishaps. Just ensure the wiring has some slack rather than pulling attachments tight.
3. Illuminate All Edges
Angle lights to spread brightness evenly across each corner of your cultivated landscape. Reflectors also help distribute intense light.
4. Mind Electricity Basics
Exercise electrical safety measures like using GFCI outlets near water sources or surge protectors to prevent shorts. Keep cords organized and components dry.
5. Check It’s All Secure
Before growing, personally test weight-bearing limits by hanging from installed hardware. Then periodically check for loose connections and re-tighten everything as required over time.
6. Maintain Peak Performance
Regularly inspect light components, cleaning bulbs, and reflectors, so dust buildup doesn’t diminish the brightness intensity shining on your crops!
SIDENOTE: For super specific hanging height guidance based on your unique setup, check this tailored companion article on ideal grow light positioning.
Hanging Grow Lights Without Drilling
Maybe you are hesitating before whipping out that drill if renting, lack handy skills, or simply want a temporary solution.
Luckily, mounting luminaires securely without drilling holes is totally doable with the right gear!
Here are 6 clever, damage-free methods to hang those essential lights and keep plants thriving.
1. Command Your Way to Plant Bliss
Trusted adhesive strips like 3M Command Products fasten to smooth surfaces sans screws.
Just ensure the weight limits work for your model with a wide safety margin—options handling up to 16 pounds per strip exist! They even make special heavy-duty light clips.
2. Magnets Attract Great Results
Rather than drilling, magnetic hooks offer damage-free versatility.
Multipacks of adjustable magnetic clips capable of supporting 15–20 pounds are readily available online in case you ever need to reposition the lights.
Just confirm the ceiling area has sufficient metallic material to maintain that clingy bond!
3. Flex Those Tension Rod Muscles
Extend a length of pole temporarily between walls or crossbeams, beefy enough to handle the load.
Then clip lights directly on or hang ropes/chains from the rod for vertical adjustments. It even breaks down for storage when not gardening!
4. Feel the Power of Suction
In a vacuum for super-simple light-hanging solutions? Suction cups come to the rescue!
Adhesive suction hooks have strengths reaching 5–10 pounds. So while best for lighter LED setups, they do provide damage-free versatility.
Just maintain a safety margin, given their tendency to slowly lose suction power over time.
5. Lock Down Non-Drilling Solutions
Sturdy bar clamps offer another hassle-free bridge anchoring method. Good ones lock down tightly on a wall edge or ceiling beam up to 3 inches thick while remaining adjustable.
Hang lighting solutions securely from the bridging poles. Position the light spread wisely, though, since the bar clamps limit location flexibility.
6. Beam Up Excellent Support
For exposed wall-to-wall ceiling beams, C-clamps shine bright for heavy loads like high-wattage HID lights.
Protect that smooth wooden finish from marks using rubberized clamp pads. Then revel as your trees sprout supercharged from that electrical outlet in the perfect spot!
When relying on adhesive bonding rather than rock-solid anchoring, reinforce attachments using safety cables for expensive gear.
And always respect weight limits, check for slipping, and carefully position lights far from anything flammable.
But used judiciously, these damage-free techniques offer startling simplicity for renters plus custom positioning.
Other Creative and Unconventional Hanging Solutions

When installing grow lights, don’t limit yourself to basic chain hangers!
With a bit of imagination, you can create unique mounting solutions to show off your plants in style.
Horizontal Configurations
Rather than hanging lights vertically above plants, consider moving them horizontally to cover more canopy areas efficiently.
Light movers and rail systems (see this example) enable adjusting multiple lights back and forth over a wider growing space with fewer shadows.
Programmable movers in particular provide even coverage as your plants grow, resulting in up to 30% higher yields. The key is ensuring adequate power outlets to avoid cord length issues.
Multi-Level Setups
Maximize your vertical space by mounting lights at varying heights over separate plant groupings.
Multi-tier stands like these adjustable tripod models allow customizing multiple levels to account for diverse plant sizes and growth phases.
Lower shelter seedlings and greens that need less intense light, while positioning brighter, more powerful lights higher up for fruiting plants. This caters to illumination precisely to needs.
Creative Mounts
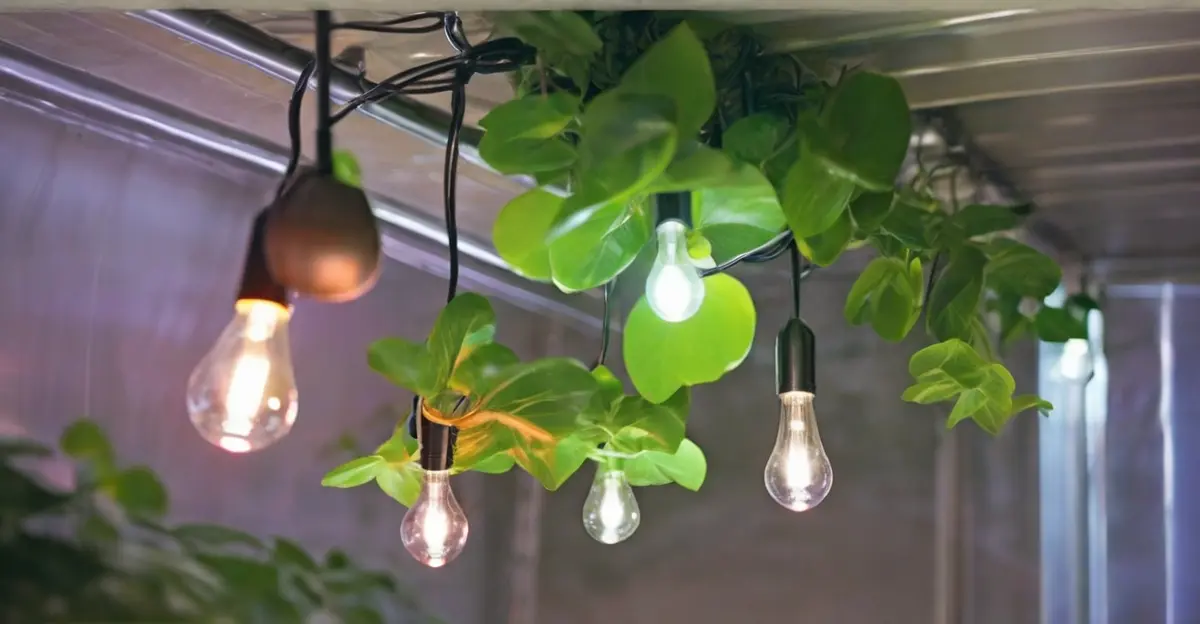
Incorporate decorative elements like hanging wall hooks, woven cords, or macrame to suspend single-grow light bulbs or mini panels. Use these as accent lighting over specific plantings rather than room-wide coverage.
Mount staghorn ferns or trailing species on the wall beneath for an unusual display. Or hang pendant lights from rods or rails to spotlight plantings creatively.
Unconventional Shapes
Think beyond rectangular LED panels! For a quirky statement, mount round or uniquely shaped lamps inside hanging planters, colanders, or wire basket frames containing plants.
Use broad-spectrum, full-color light bulbs like these red/blue models at proper heights to safely illuminate unusual vessels. Just ensure adequate airflow and access for watering plants.
Adjustability
Consider hanging systems enabling you to easily raise and lower grow lights.
Retractable cords, chains/cables on pulleys, or telescoping poles allow quickly adjusting the height as your plants grow taller without reinstalling lights repeatedly.
Programmable timers to control photoperiods combined with plug-in dimmers to adjust light intensities provide even more customization for optimal coverage as plants reach maturity.
Conclusion
I hope these practical step-by-step instructions kindled excitement to illuminate your own indoor planting space.
The possibilities for what you can grow are endless. Now go let your green thumb shine bright!
Just as natural light fuels growth and blooms outdoors, a well-positioned electrical glow fuels indoor cultivation.
Meet your guide
Dhruvir Zala